Artistry, Technical and Research
Semester 02 Week 04 – 05 (2018/02/19 – 2018/03/04)
Artistry
These are some renders and composites from the start of semester 2 to get an idea for what the characters might look like in scene 03 – the road to Reymond. It still needs a lot of work. Reymond wasn’t casting enough light on his surroundings with the emmisive set -up so I’ve tried making him a mesh light in the images below and added a glow to his emmisive pass in Nuke. This causes bad light bleed around his mouth. I’ll try light linking for his cast light.


Research and Technical
Andrew found this cel shader script for Arnold 5 which works much better than relying on hard directional lights! It’s free for download here:
https://encci20.blogspot.co.uk/2017/11/cell-shader-tool.html
The light and shadow color are controlled by a ramp. Kerry and I are setting up the cel shader in each individual asset file. A little extra work is therefore needed to reconnect every referenced asset in the layout files to the same ramp so that light and shadow HSV can be changed from one control point. This shading network also doesn’t seem to have an imput for height maps unless we reroute to an aiStandardSurface.
Cell Shader Tool – Arnold 5 – Maya from Steffano Richi:
Artistry
These are some of the updated assets that I worked on with the cel shader. We’re trying to keep our asset textures broad, abstract and brushy so that they read like a painting from afar, especially when combined with the cel shader which simplifies the shading. I’ve also made a warm and cold version of the tree textures to help with our scene palettes.
-

- Without cel shader.
-

- With cel shader.
-

- Warm textures and light.
-

- Cold textures and light.
-

- Simplified broad textures
This is our progress so far with rendering and compositing our characters in an environment. This is in layout 02 which Kerry was working on. The cel shader doesn’t work with the default AOVs from Nuke so this is only composited with the zdepth pass. It needs more work. Mike has also pointed out that we need to stage the characters with the lighting more. This seems tricky with our current light-set up and workflow so it needs more research and experimenting.
-

- Raw render.
-

- Composite with zdepth in Nuke.
-

- The sky needs masked and the contrast needs tweaked.
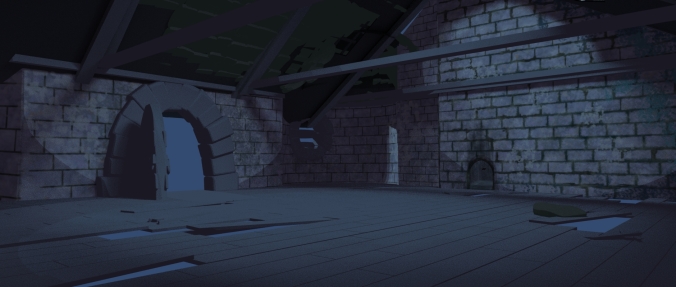
I’ve started texturing the inside of the house while Kerry is working on the house exterior this week too. I was worried that the cel shader only seemed to work with directional lights but I’ve found that it works with the aiAreaLight also. Light will be coming from the doorway and boarded windows at the front and from a caved-in roof at the back.
-

- Wall texture progress in Substance Painter with damp, mossy stone. Made with layers of default materials, the brick stencil and painted broken edges to make it more imperfect.
-

- Lighting without cell shading.
-
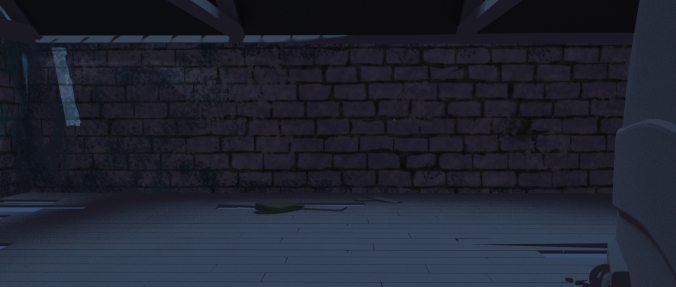
- Lighting with cel shading. wall texture
-

- Lighting without cel shading.
-
- Lighting with cel shading.
Alec and the others have suggested using geometry with alpha gradients for light beams. I’ll also be developing the red strangling version of the house interior light/textures.


